Search This Blog

Sunday, 22 July 2012

Knockomie update 3

Lots of progress has been made on Knockomie over the last month. The roads have been done and painted with the markings and verges to finish off. The front of the layout has had some relief added using polystyrene cut with a hacksaw blade and covered with toilet roll sheets wetted with diluted PVA mix which gives a pretty effective looking rocky texture. Some further raised relief has been added between the mainline and the narrow side road to the siding. The backscene has also been added using the id backscenes range. I didn't want a truly mountainous Scottish backscene, rather an impression that this station lies somewhere in between so that a variety of Scottish liveried stock can be run. The scenic break panels at each end are next on the list of things to do.


The road is done and the white stuff is the embankments made from polystyrene and loo roll. The signal box is not fixed in place yet. The scenic break will be formed with rocky outcrops and the track emerging from a cutting through the rock.


The relief I added to the front of the layout can be seen with some scenic material added - I got ahead of myself.


The general idea of the layout with the scenery and buildings can be seen here. None of the buildings have been fixed yet. The scenic break on the emd panel here will be a footbridge.

Wednesday, 20 June 2012

Knockomie update 2

Knockomie was stored in the loft, a loft that gets very warm in the summer. Needless to say the baseboard bowed and all the platform decking paper peeled off so I have brought it back down to the garage and luckily it has returned to its original shape. The decking paper has been rejected as not being suitable and I have resorted to painting it instead.
The ballasting is complete and 75% of the platforms have been glued in place. I only have the curved section to complete with suitably cut and shaped decking material (plasticard). After some testing to make sure the clearances of the platform edging and ballast is good I can get into the scenery making.
So the platform is now completely laid. I had to make my own decking from plasticard for the curved section and it has been painted with Woodland Scenics tarmac and the coping stones picked out in slightly varied shades of light beige. Scalescenes stone effect platform edges have been used for the facings.
I have also been busy finishing the ballasting, fitting a barrow crossing, a level crossing and I have laid the road using Woodlands Scenics Smooth-it road kit. I still have to weather the ballast but by and large I am happy with it and the layout still operates as before.


The platforms shaped, fitted and with decking added. The coaches are to check the clearance.

The completed ballast and barrow crossing done. The signal box is not fixed at this time.

The level crossing is fitted. I used the vehicles to check for clearance and scale. 

The signal box gains its nameplate. The wonky window and interior will be dealt with at a later date and then the box will be permanently fitted.

On the Ho Chi Minh trail

I recently spent week in Vietnam on business and took some time out to find out what the Vietnamese railways were like, a bit dated is the honest answer. But I discovered that the railway runs all the way to China and eventually Beijing which suggests that the determined rail enthusiast could take a train all the way from Wick to Ho Chi Minh via the Chunnel and Trans-Siberian Express. 


Sunday, 27 May 2012

Knockomie update

Progress on Knockomie has been ongoing though you wouldn't think it to look at the layout. Plywood sheet has been bought and cut for the back and front panels and needs to be fitted when I have settled on the landscape I want. I have also been busy on some of the scenic features before fitting to the layout. Platforms have been built from the Peco range with Scalescene's platform faces and topping used and I still have to build the curved section which could be tricky. After these have been done and fitted the dreaded ballasting has to be tackled. At least I only have six feet of track to do.
Also in progress is a modified Bachmann Scenecraft Market Hampton station building, a bus shed inspired by the one that used to be at Garve and a few other bits and pieces. Lots of scenery items have been acquired like trees, Woodland Scenics rock moulds and  Smooth-it road making kit.
All I need now is time.

Trial fitting the platforms for clearance before glueing in place. The backscene panel can be seen  on the right.


My new spray booth

One of the AMRC members made his own spray booth from plywood and an ordinary household extractor fan. I used it earlier this year for a Club open day to practise and demonstrate some weathering techniques with my airbrush and I was really impressed with it. One of the other members is a bit of a wizz with building baseboards and such and offered to make me a spray booth. After some dimensions noted from the Chinese blueprint (Paul's spray booth), a week later and £30 exchanged I am the proud owner of a very spacious new spray booth.
I had to do a bit of tinkering with the power socket as the one that was fitted was none standard. I bought a power lead and suitable socket from Maplin's and installed it on a blanking plate to replace the three pin socket that was fitted. We had some leftover yellow paint that my three year old daughter used on her picnic table to paint the outside of the booth with, which I think looks rather cool. My daughter also fitted the rubber feet to the base of the case and on the fold down front panel. The inside is painted in satin white and the whole booth has been varnished to seal it.


The internal work area is really spacious and could easily accommodate a large diesel locomotive in O gauge or  a large 1/72 scale plastic aircraft kit (one of my other interests). The only thing needed now is a length of hose and filter for the extractor and somewhere to use it. Oh, and a large O gauge loco to try out the booth. Anybody got a Class 37/47/50/55 in O gauge they want weathered?

Thursday, 3 May 2012

Name dropping

I suppose my new layout needs a name. Seeing as I have pinched elements from different locations in Scotland from the West Highlands, the Mallaig line and beyond I obviously need something suitably Scottish but totally distinct from any of the localities from which it is inspired by. I used to live in Forres, a lovely little town a few miles from the Moray coast, on a new housing development called Knockomie Rise - it's got a nice ring to it. But my layout is as flat as a pancake so Rise would probably be inappropriate - Knockomie it is then.

A change of scenery

Earlier in this blog I have mentioned a layout called Glasgow St. Mungo's. I moved house last summer and with it I realised that the layout was too big for the new Chez Shea residence so I sold it on ebay. Since then the frustration of not having a layout of my own to run my stock on has been countered by being able to use the Club layout for running and at the Annual Show last year. But this also has its limitations; the Club is in Andover  40 miles from my home and with the spiralling price of fuel a weekly trip to Andover is becoming prohibitive.

So what is the solution? Build another layout of course! I have spent some time over the winter laying floorboards in the loft to increase our storage space - three year old girls have a lot of toys and clothes - and found a length of MDF 6' x 17" up there amongst some other junk. After some time thinking of ideas for a layout on such a small baseboard area, Morar and Garve have always been up there, the March issue of Model Rail magazine dropped through my letter box with their annual Model Rail Scotland theme including an article on Ardlui for a small space layout.

I spent a few weeks researching Morar, Garve and Ardlui to see how I could replicate one of these locations in 6' x 17" - a "representation" could be achieved in this area with additional fiddle yards at either end. Track, points and additional timber was bought and the scenic baseboard is now complete.

The track plan features a single line into a station with a passing loop and short siding. The station itself is loosely based on Garve but I'm taking inspiration from Ardlui, Achnasheen and Morar. At the moment I haven't made the fiddle yards yet but at the end with the double track there is the scope to extend the station area and close the passing loop but that is for the future. For the time being the scenic area will go through a break at this end.

The track is laid and wired for DCC with the track weathered with a spray can of Railmatch frame dirt, my can of sleeper grime was empty and I didn't want to lose time getting some more but the effect is much the same. I painted the rail sides dark rust by brush paying attention to keeping the points clear and only on the viewing side. After painting I tested the track again for DCC but there was a bit of juddering over one section of the pointwork that needs a bit of cleaning.

I only had one problem when wiring the track for DCC and that was with the power to the points. After taking some advice from other club members and a bit of soldering they worked perfectly.

The next task is to build and install the platforms before ballasting can begin.

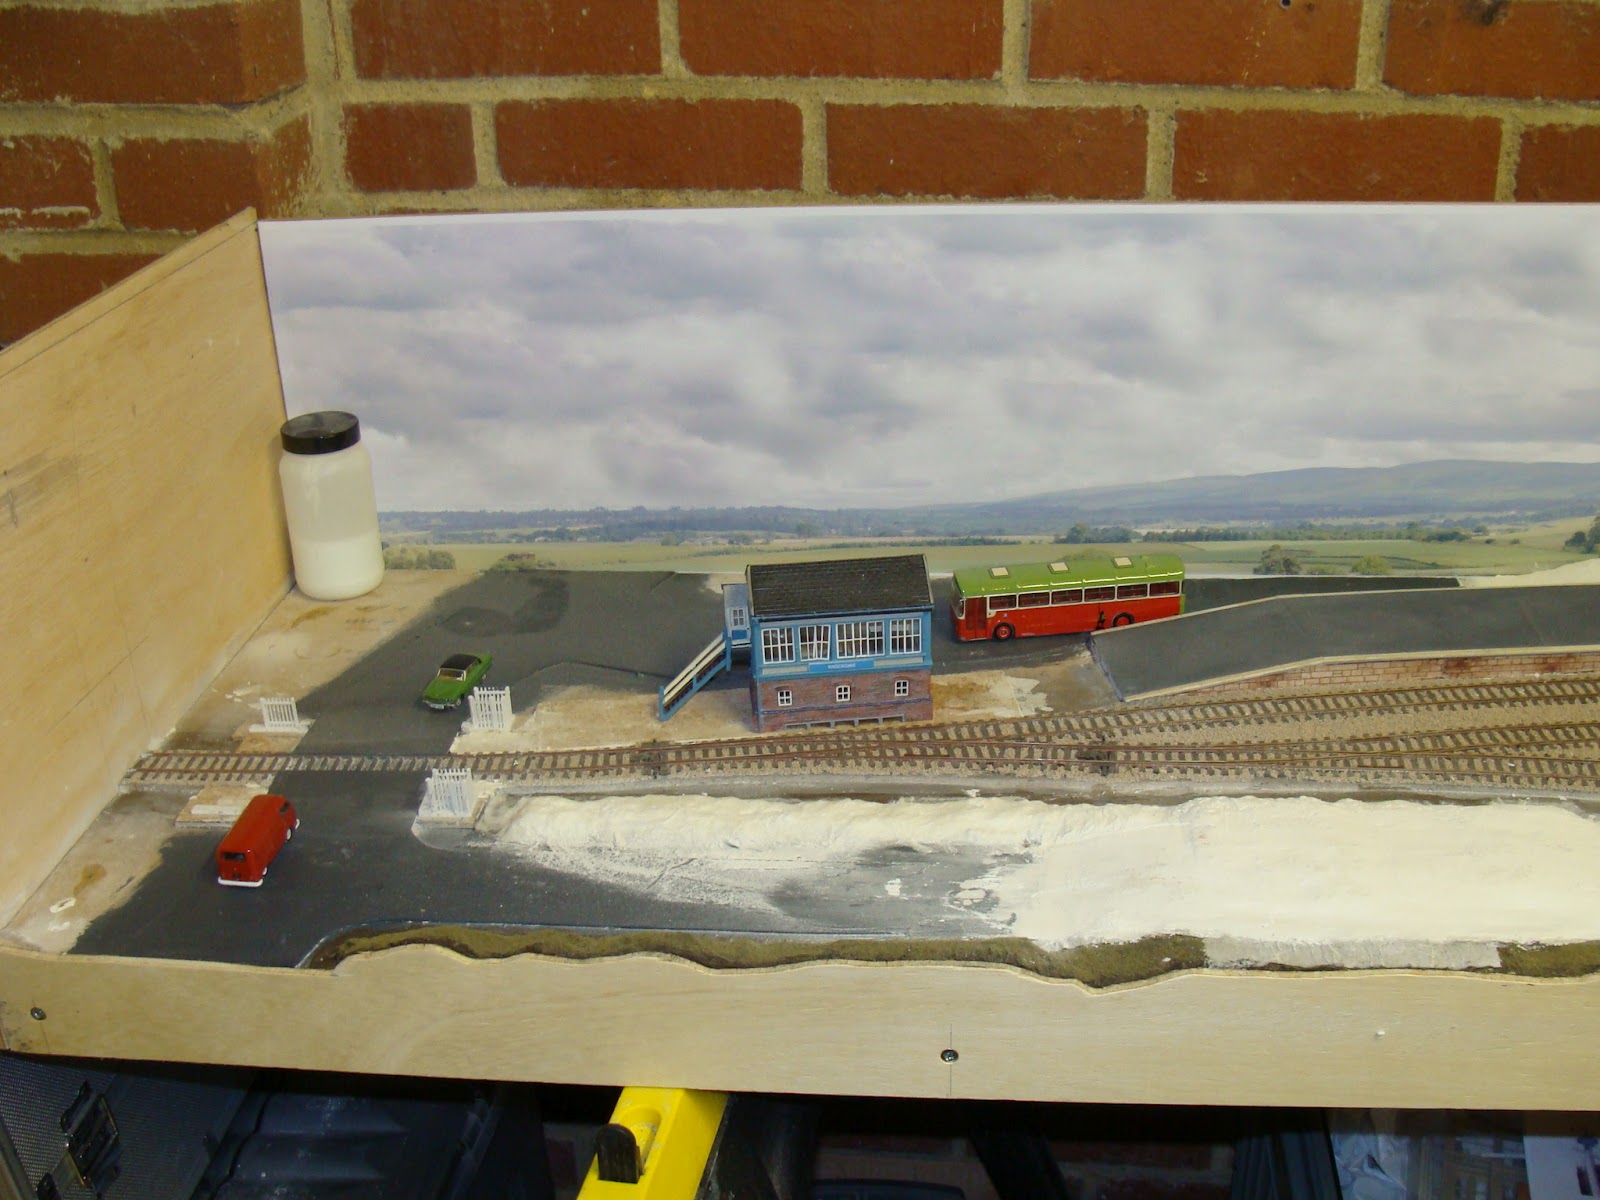
Trying out the track layout with a typical two coach train that will be operated.


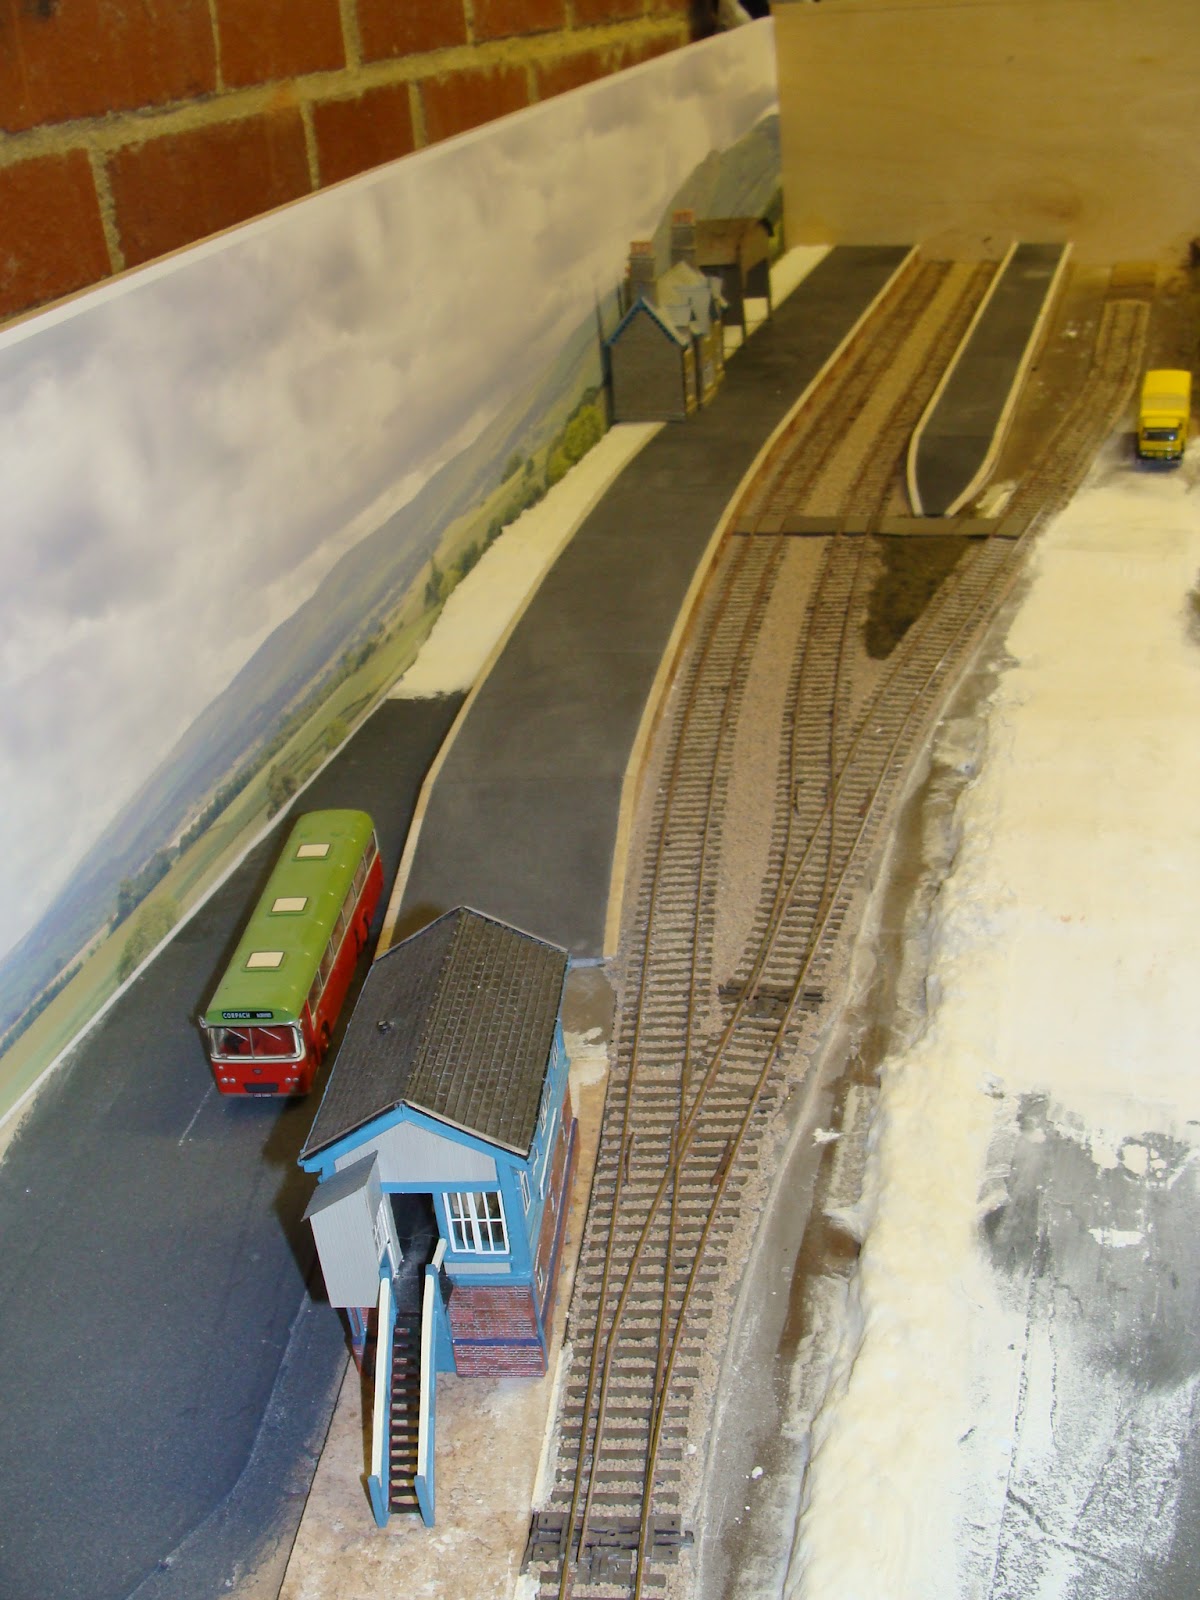
The track after weathering and rail painting.

The DCC wiring under the base board. DCC is so much easier for a non electrician like me.